ADVERTISEMENT
Add 4 cloves of finely crushed garlic, which has excellent antibacterial and disinfectant properties.

Photo: YouTube
Mix the rice juice with the garlic and strain the mixture.
Soak all the orchid roots in this water for 30 minutes.

Photo: YouTube
This step stimulates rapid growth of roots and shoots.
3. Moving to a new environment:
Use pots made of recycled plastic with drainage holes.
Plant the plant in a new medium with modified pine bark, which helps maintain optimal humidity.

Photo: YouTube
Place a saucer under the pot to keep it moist every day.
Every three days, spray the base of the plant with a fine mist to keep it moist enough to encourage shoot growth.

Photo: YouTube
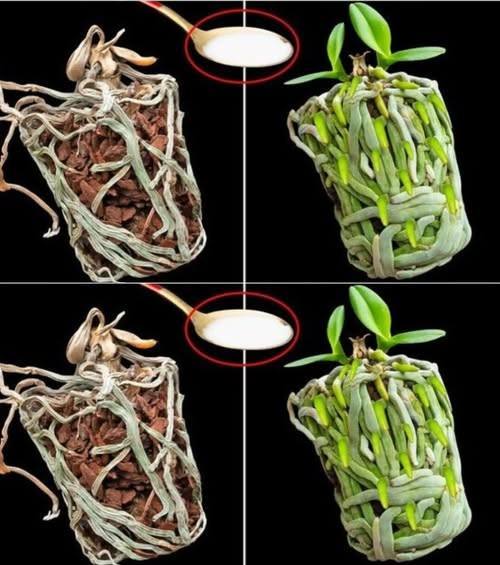
4. Results after 45 days
After 45 days, the orchid should have new shoots and roots.

Photo: YouTube
These new shoots and roots will be strong and healthy.
At this point, you should alternate between feeding your plants natural organic fertilizers like bananas, aloe vera, and soybeans to give them more nutrition for healthy growth.
More tips:
Humidity: Orchids thrive in humid environments. You can increase humidity by using a humidifier or by placing the pot on a tray filled with water and pebbles.
Fertilization: During rejuvenation, fertilize the orchid very rarely or not at all with commercially available fertilizers.
Diseases and pests: Check your orchid regularly for signs of disease or pests.
Good luck!
For the complete cooking steps, please go to the next page or open the button (>) and don’t forget to SHARE with your Facebook friends.
ADVERTISEMENT
