ADVERTISEMENT
Step 8: The Tight Wrap Technique
-
Gently lift the edge of the plastic wrap and roll the log away from you, completely enclosing the cheese mixture.
-
Twist the ends of the plastic wrap tightly, like a candy wrapper, to compress the log and create a smooth, firm, and uniform cylindrical shape. This pressure is key! 🌀
-
If the log is not perfectly smooth, you can gently roll it back and forth on the counter a few times to smooth out any bumps.
Step 9: Repeat and Chill
-
Repeat Steps 7 and 8 for the remaining portions, creating your full set of festive logs.
-
Place all the wrapped logs onto a baking sheet or tray.
❄️ The Crucial Chill Time
This step is non-negotiable! The chill time allows the logs to firm up completely, making them easy to slice cleanly and giving the flavors time to meld beautifully. 😋
-
Place the tray of wrapped logs into the refrigerator.
-
Chill for a minimum of 4 to 6 hours, but ideally overnight for the best results. The logs should feel very firm to the touch when ready. 🧊
Pro Tip: Speed Chilling
-
If you are short on time, you can place the logs in the freezer for about 1 to 2 hours. Be careful not to freeze them solid! A partially frozen log is easier to slice perfectly. 🥶
📄 Page 3: Serving, Storage & SEO Keywords
🍽️ Serving Suggestions: Presentation is Everything!
Once your logs are perfectly chilled, it’s time for the grand reveal! 🎀
Step 10: Unwrap and Slice
-
Just before serving, carefully unwrap each log from the plastic wrap.
-
Use a sharp, non-serrated knife to slice the log into thick, beautiful rounds or diagonal slices. Wipe the knife between cuts for the cleanest slices, showcasing the stunning red and green jewels! 🔪✨
Serving Ideas
-
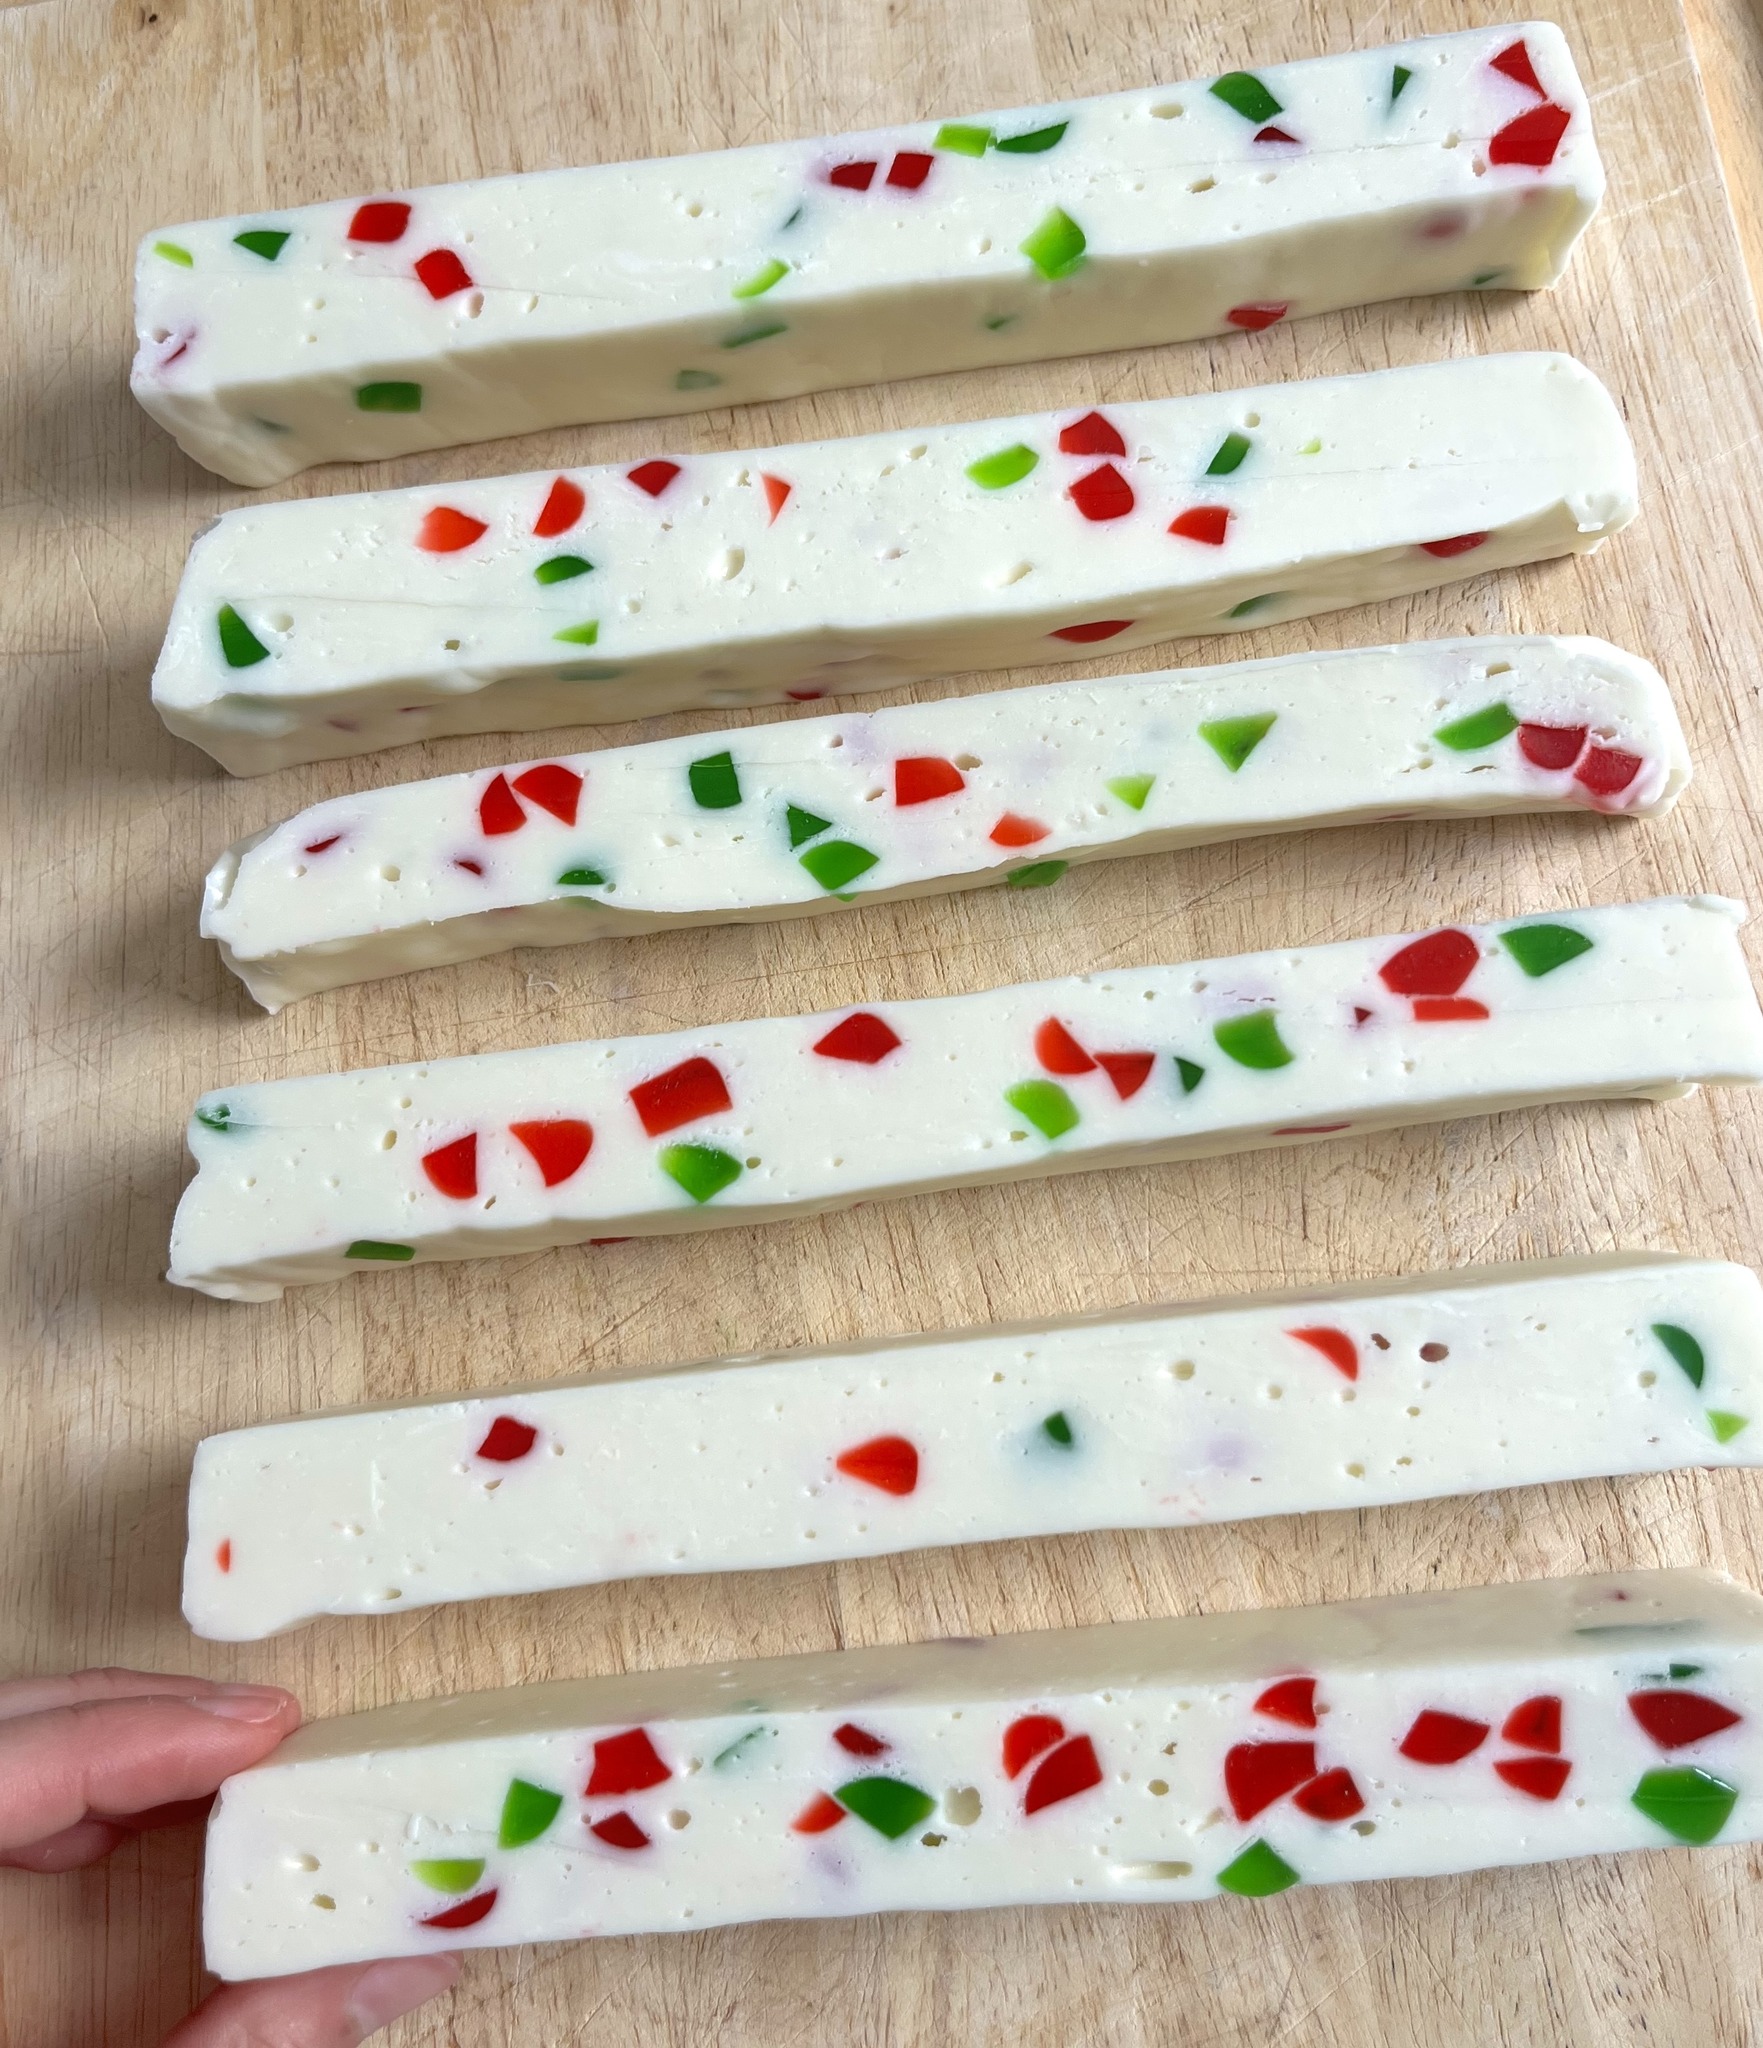
The Log Presentation: Serve the full, unsliced logs on a beautiful wooden board (just like the image!) or a festive platter, allowing guests to admire their beauty before slicing them. 🖼️
-
As a Dip/Spread: While sliced and firm, this can also be served as a delightful, sweet “cheese ball” alternative. Serve with crisp ginger snaps, vanilla wafers, shortbread cookies, or even fresh fruit like green grapes and strawberries. 🍓🍇
-
Gifting: Wrap individual slices or smaller logs in cellophane and tie with a festive ribbon for a beautiful homemade food gift! 🎁
💾 Storage and Shelf Life
This is a fantastic make-ahead dessert, perfect for the busy holiday season! 🗓️
-
Refrigerated Storage: The logs can be stored, tightly wrapped in plastic wrap, in the refrigerator for up to 2 weeks.
-
Freezer Storage: For longer storage, wrap the chilled logs first in plastic wrap and then in a layer of aluminum foil. They can be frozen for up to 3 months. Thaw overnight in the refrigerator before unwrapping and slicing. 🕰️
🛑 Troubleshooting: Common Questions
-
“My mix is too sticky/soft!” -> This often means the butter/cream cheese was too soft or you need more powdered sugar. Place the mix in the fridge for 30 minutes to firm up before shaping.
-
“My slices aren’t clean!” -> Your logs need to be colder. Chill them longer, or try the freezer quick-chill method. Using a thin, sharp, hot (dipped in hot water and dried) knife also helps! 🔥
🔑 SEO Optimized Keywords for Discovery
To ensure this wonderful recipe is easily found by holiday bakers, here are the key search terms (keywords) incorporated and highlighted throughout the recipe:
-
Christmas Jellied Fruit Candy Cheese Roll
-
No-Bake Christmas Dessert
-
Sweet Cream Cheese Log Recipe
-
Red and Green Candy Log
-
Homemade Holiday Fudge
-
Festive Cheese Ball Dessert
-
Classic Christmas Candy Recipe
-
Easy Make-Ahead Holiday Treat
-
Candy Cane Cheese Roll (Alternative Name Suggestion)
-
Fruit Slice Candy Log
🌟 Enjoy the process of making and sharing this classic, delicious holiday treat! 🌟
ADVERTISEMENT
